Contents
- Prep
- Hood
- Cabinet
- Finishing
Preparation
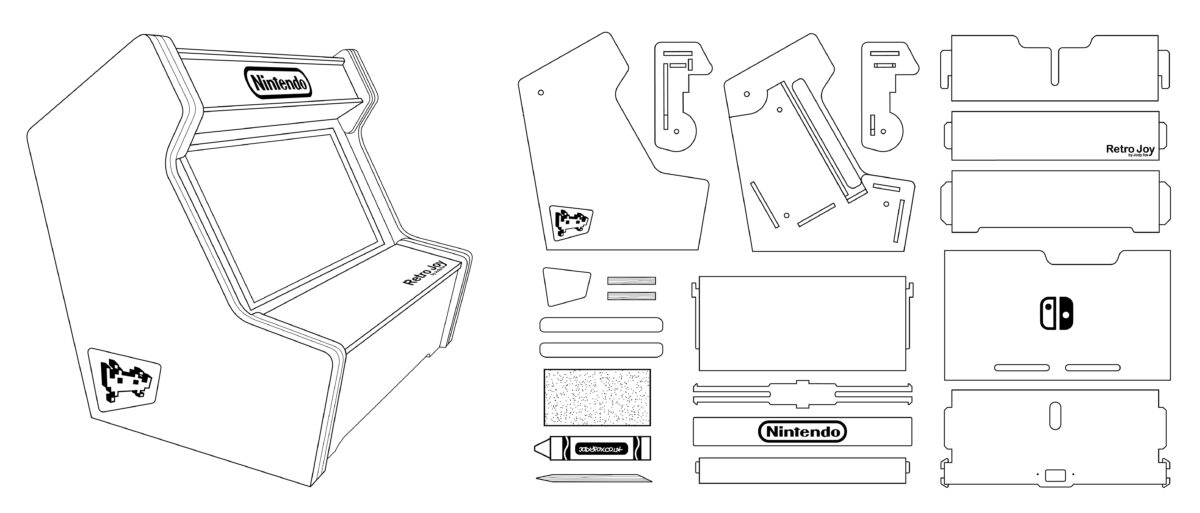
In your pack you should have sandpaper, a crayon and a cuticle stick.
Unfortunately wood being what it is there is often a slight variation in the thickness of the Plywood sheets from batch to batch. If any of the tabs feel too tight for the slots use the sandpaper so sand them down slightly.
Use the wax crayon the lubricate the tabs and clips on any sliding components before assembly to ensure they slide and lock into place smoothly.
The cuticle stick can be used to clean out the slots and also to spread the clips out once fitted to make sure they are properly locked in place.
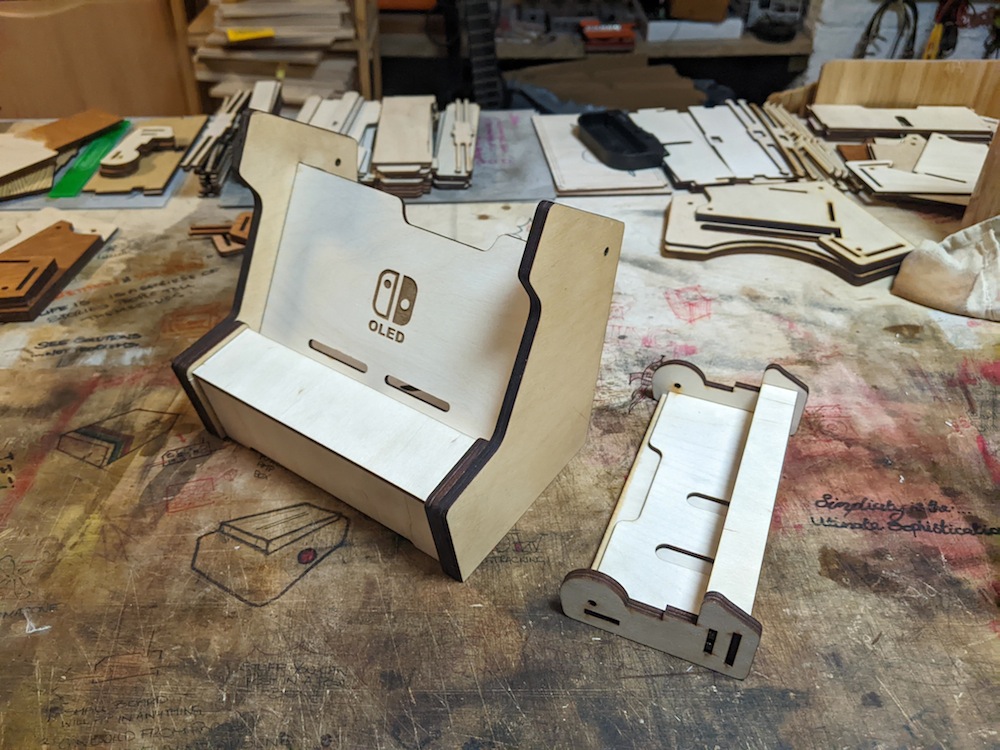
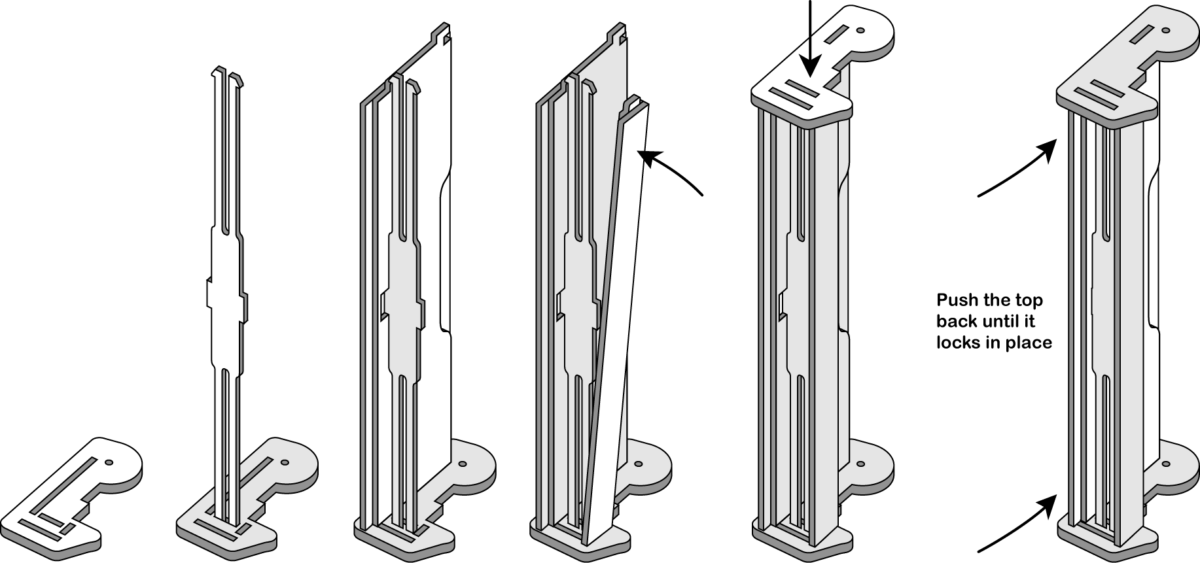
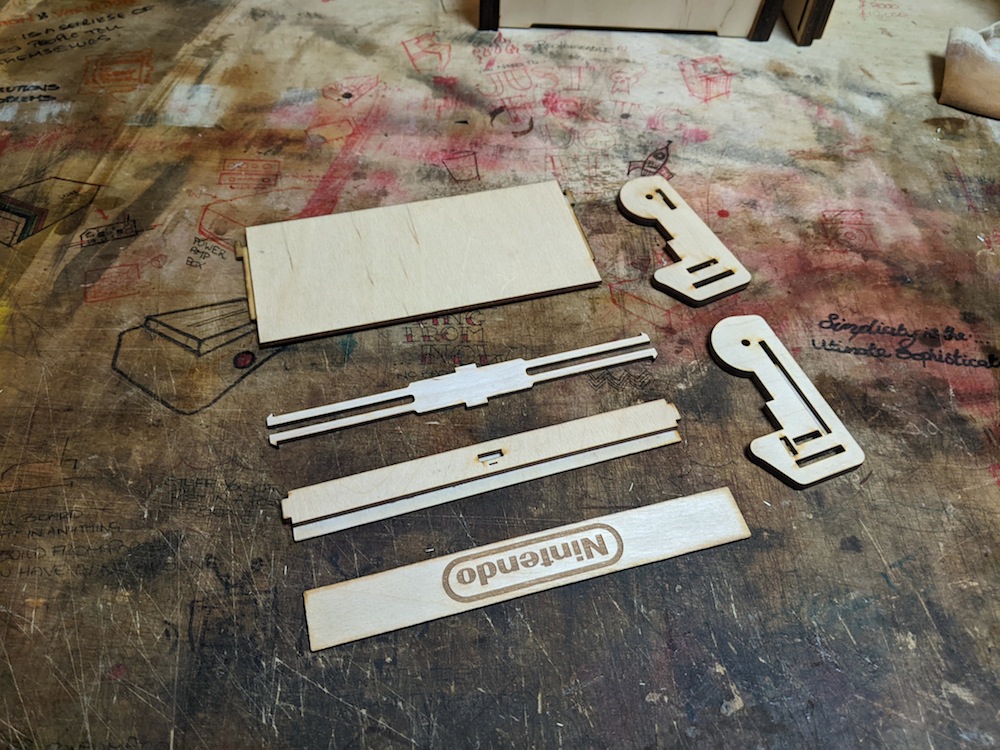
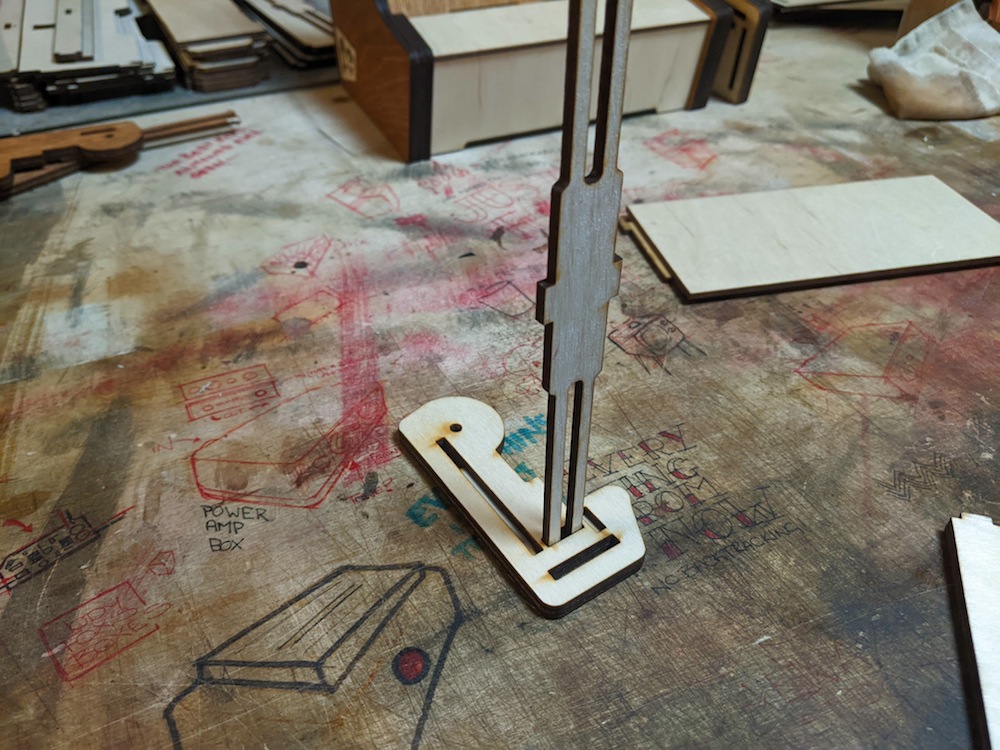
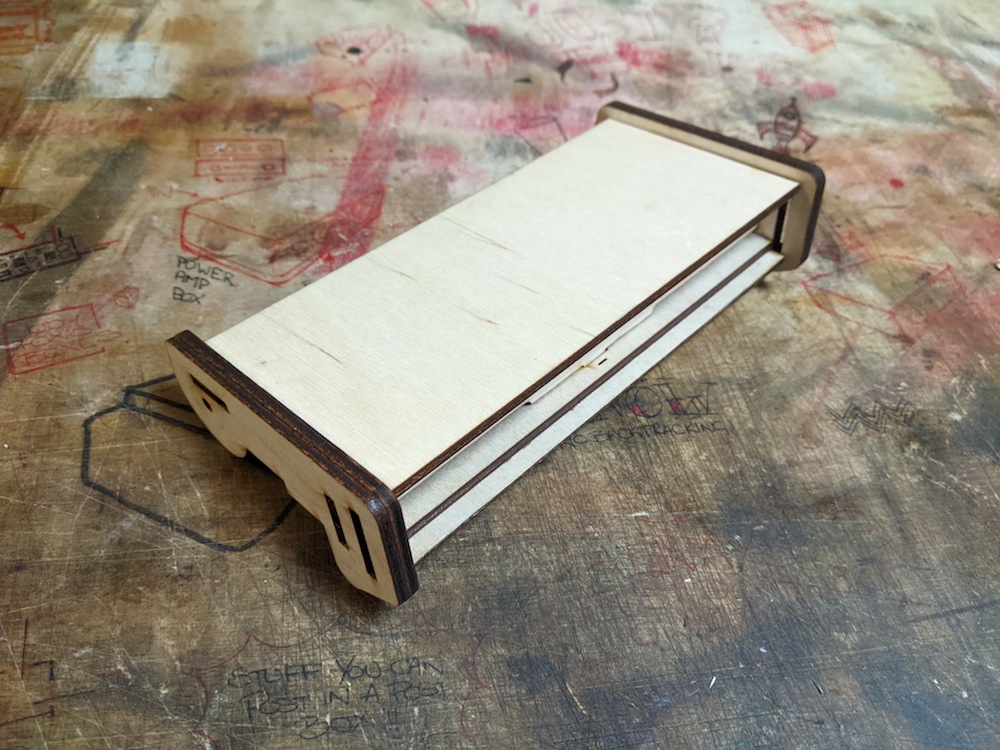
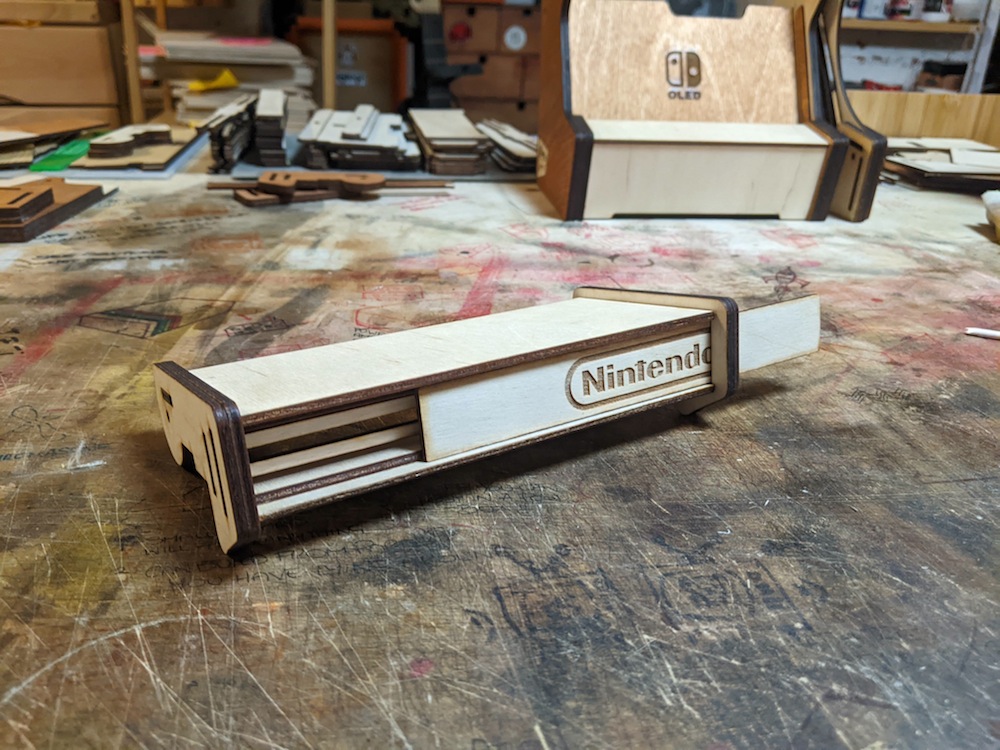
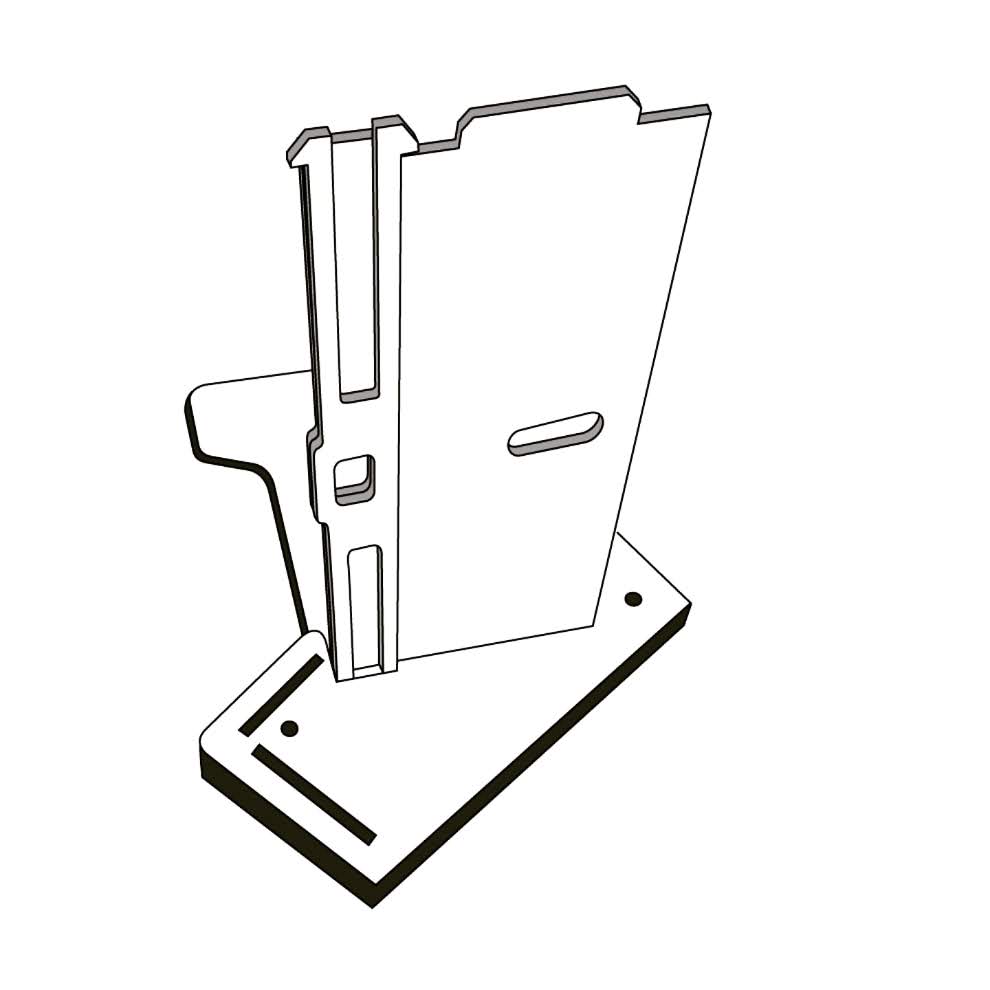
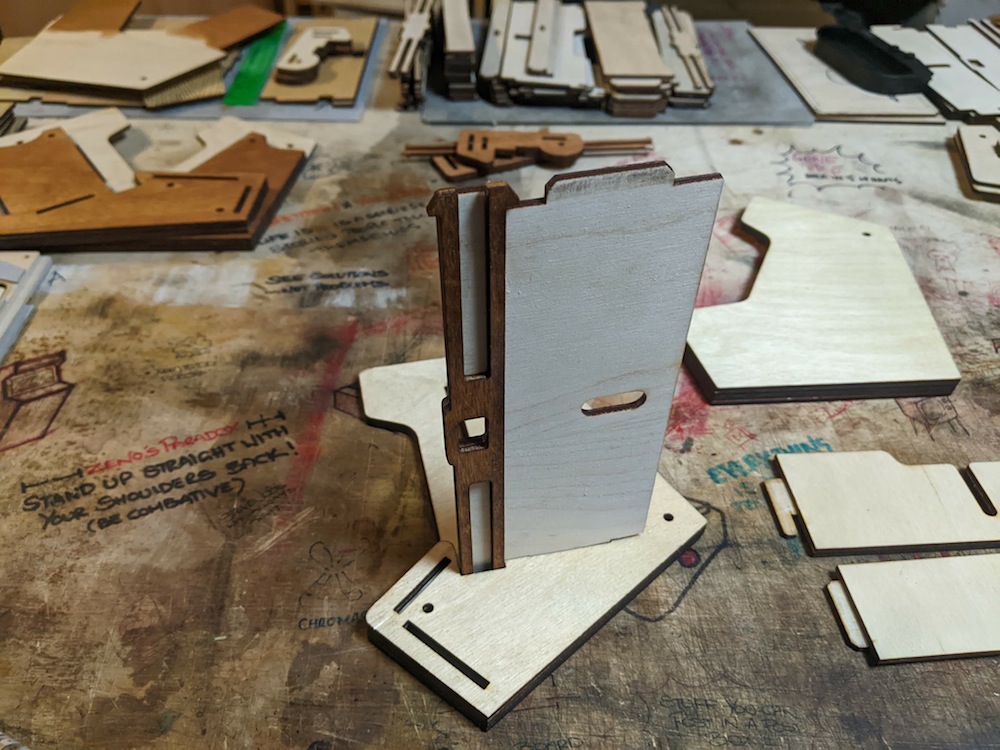
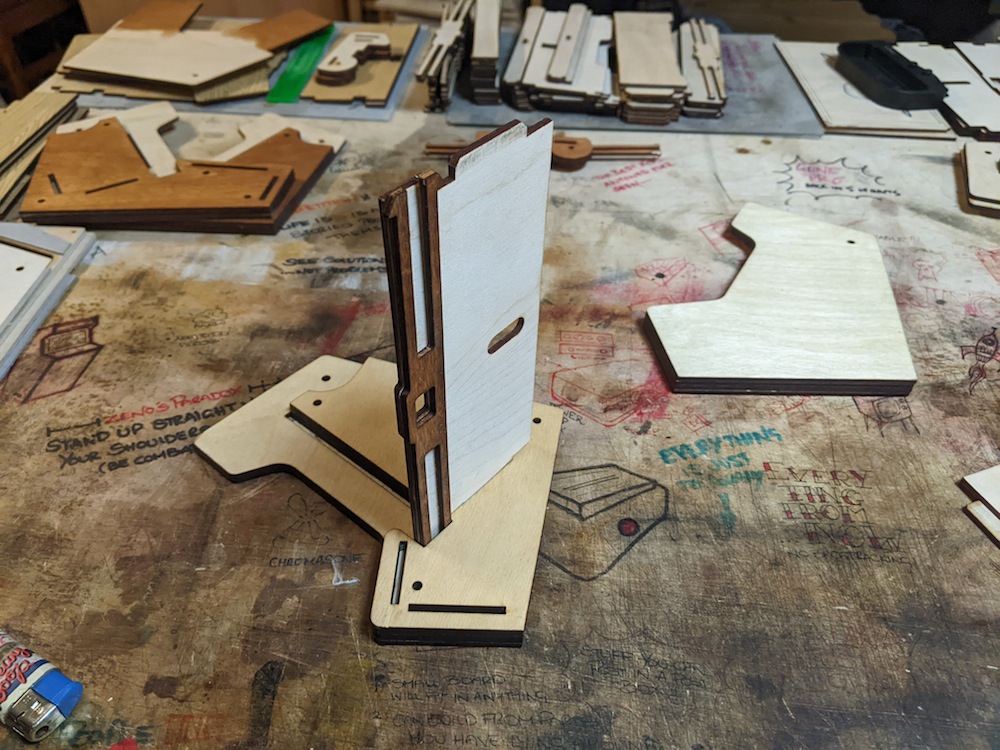
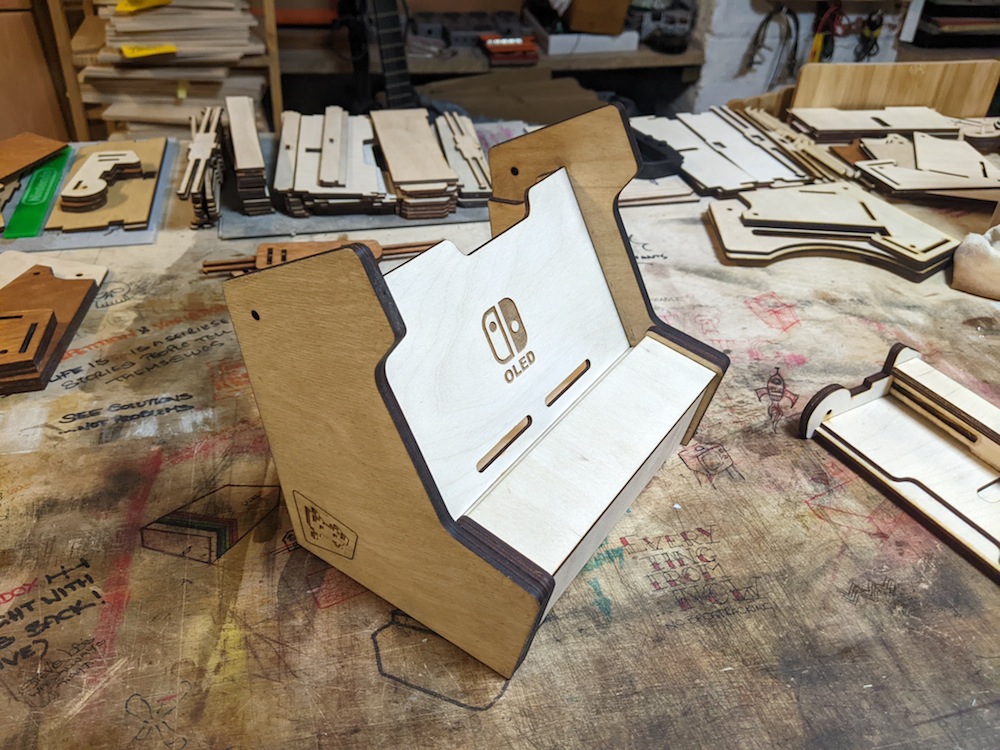
Step 1 – Building The Hood
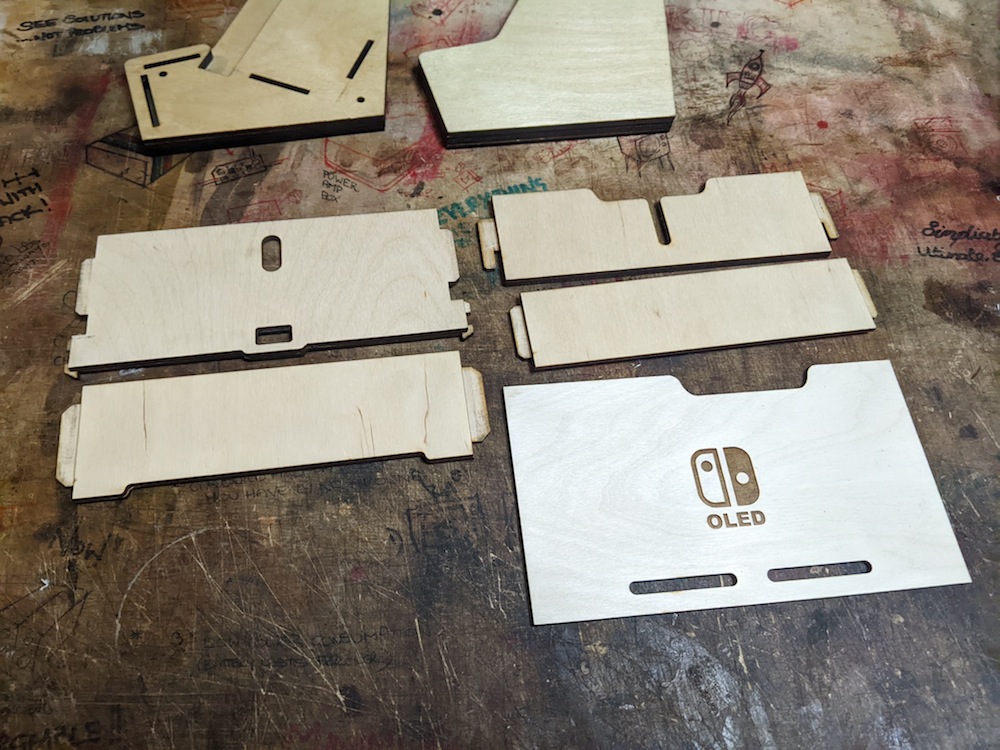
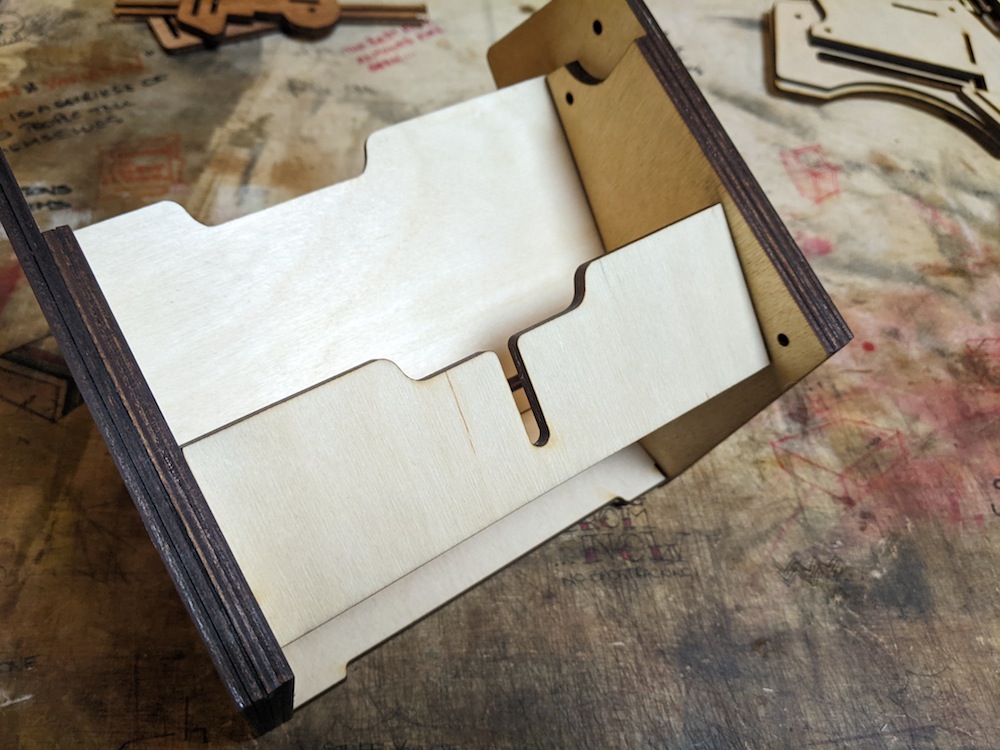
Building the main Cabinet
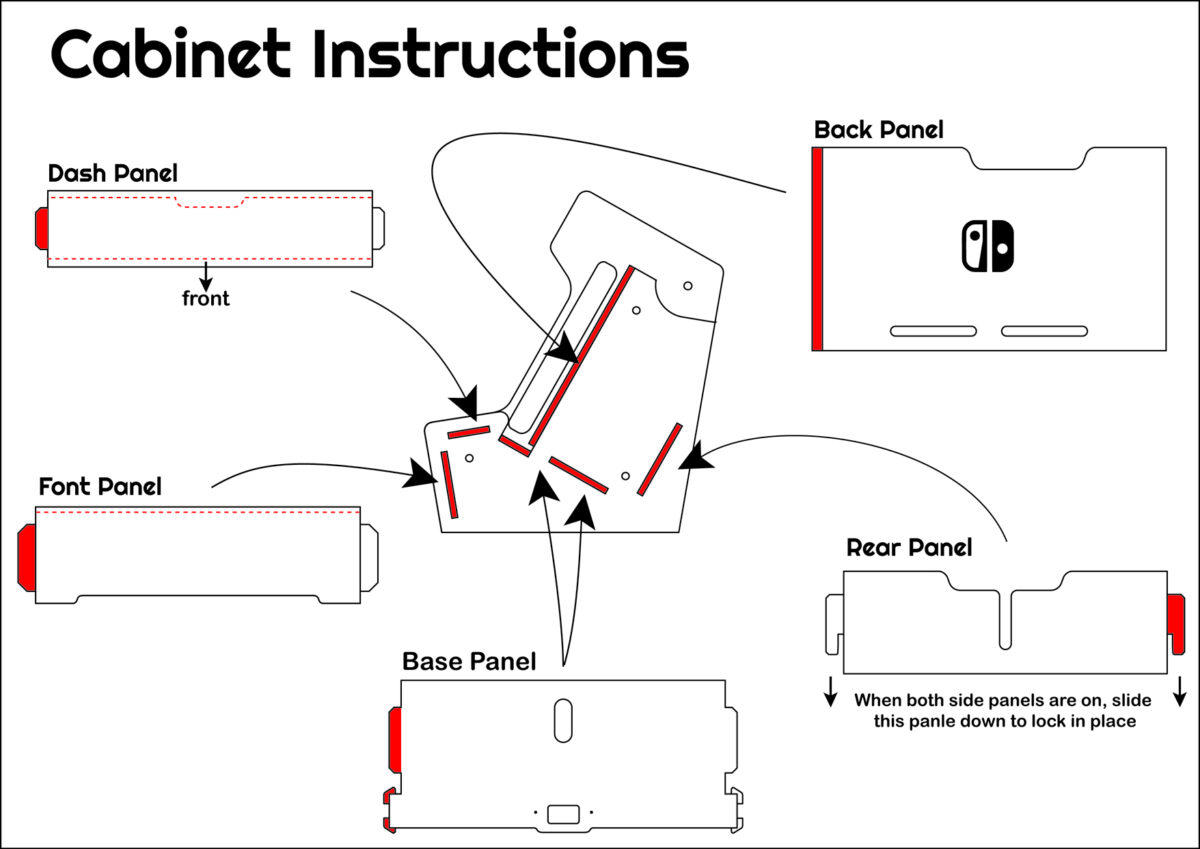
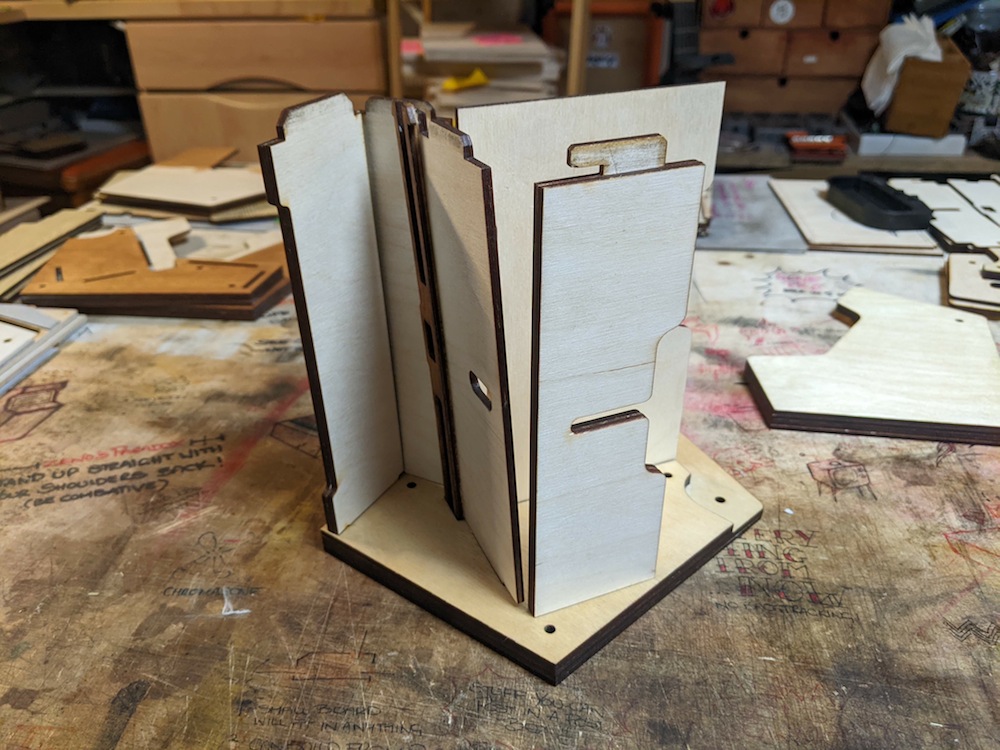
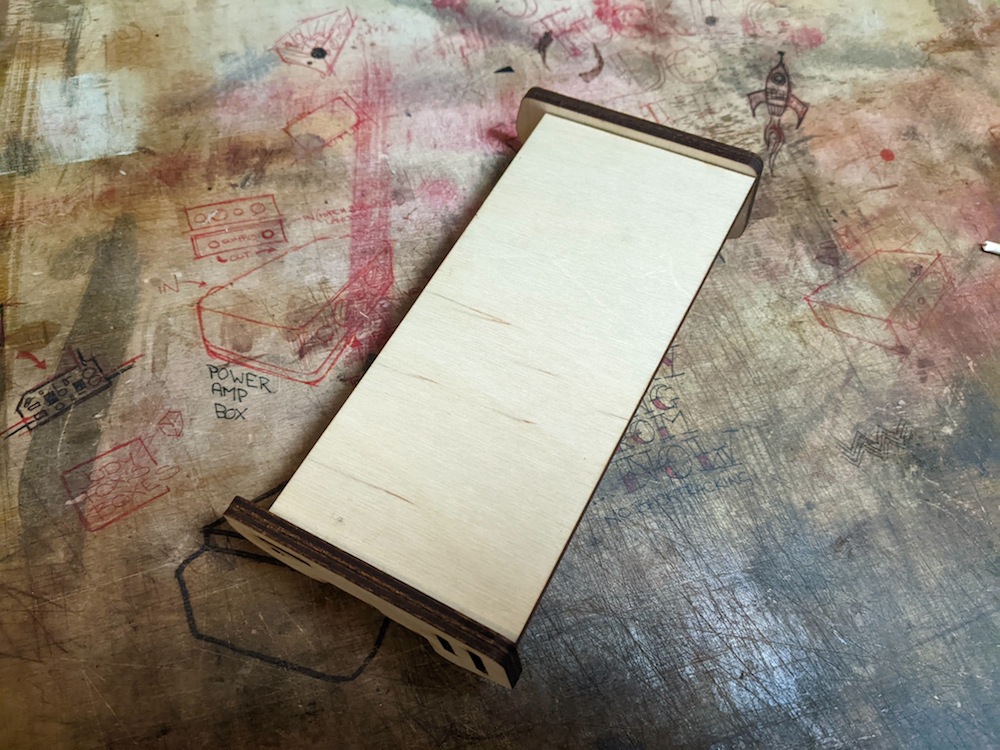
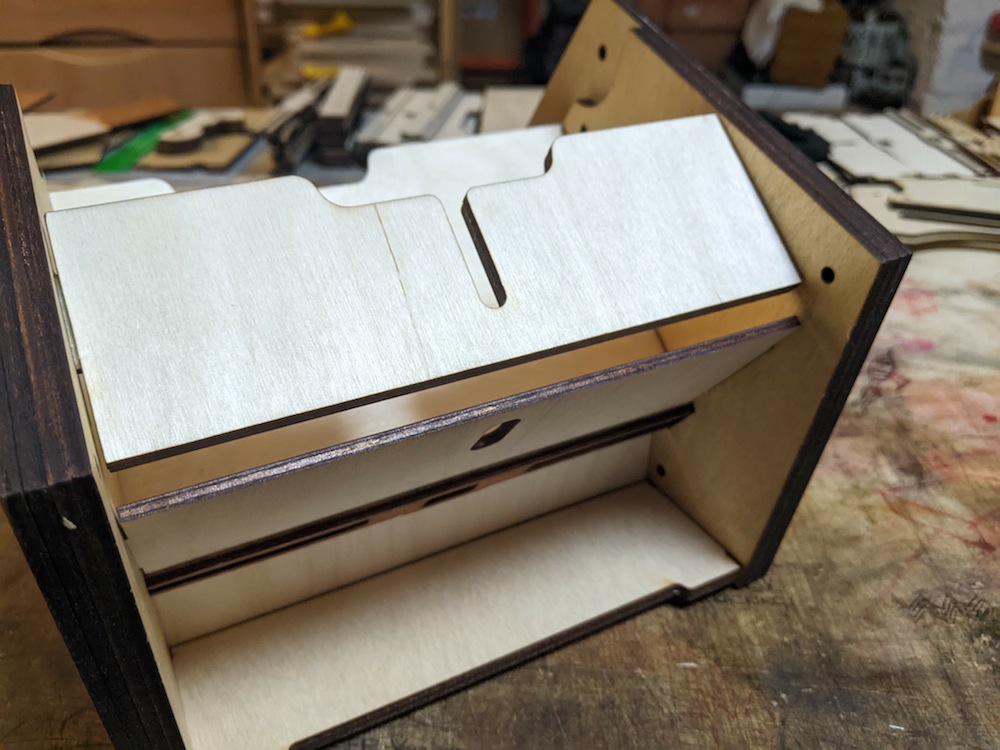
When you have got all the pieces plugged into one side, it’s time to attach the other side. This bit can be a bit fiddly tying to line up all the tabs and slots but take your time and follow the instructions below and it will be a breeze
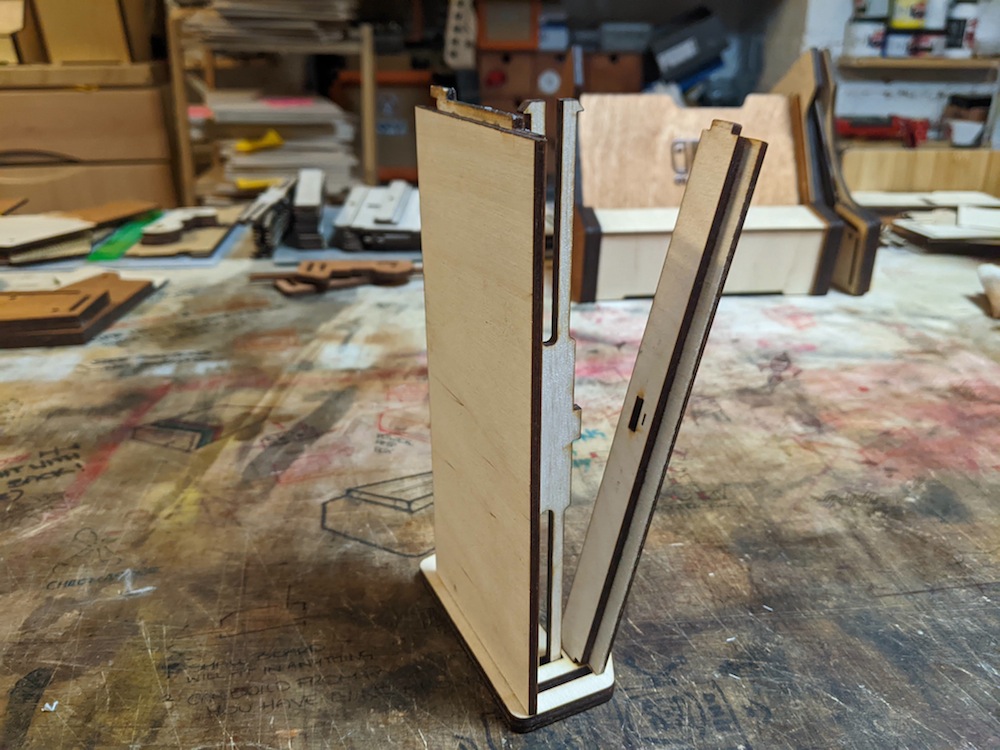
- First line up the front panel tab and slot and then the Rear panel and slot. The tabs on these 2 panels are longer than the others so you should be able to push the 2nd side on partially.
- Next line up the Base panel (with Clip) with it’s corresponding slots on the side.
- Then line up the Dash Panel and push the New side panel on slightly
- Lastly Line up the Back Panel (The one with the switch logo and vent holes) make sure you have it the right way round (Cut out on the right)
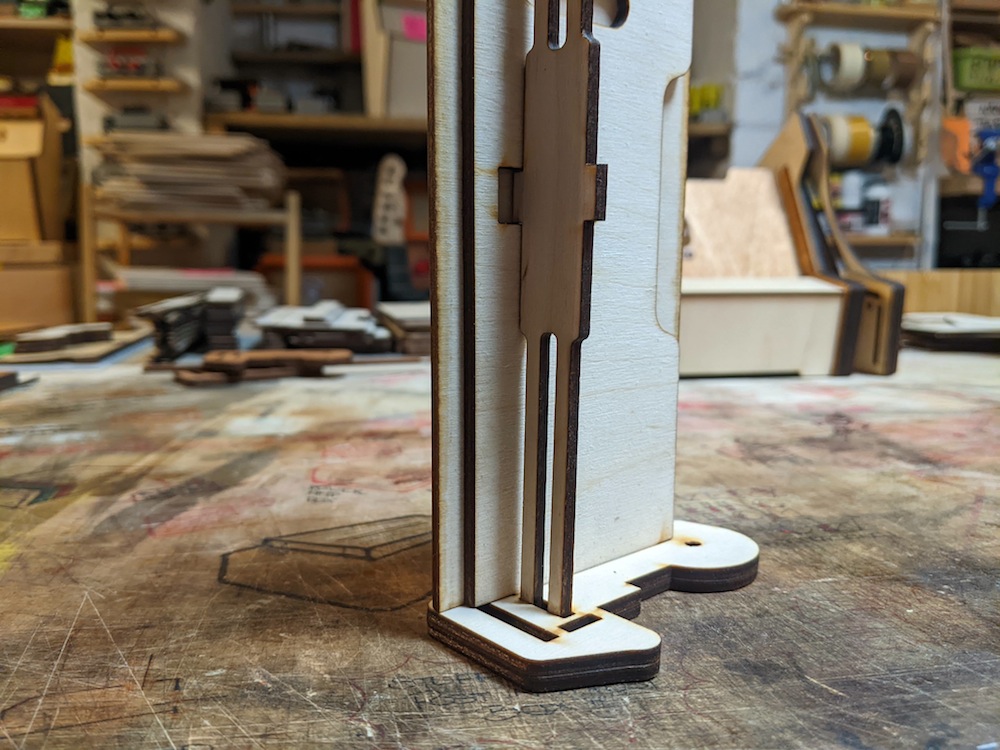
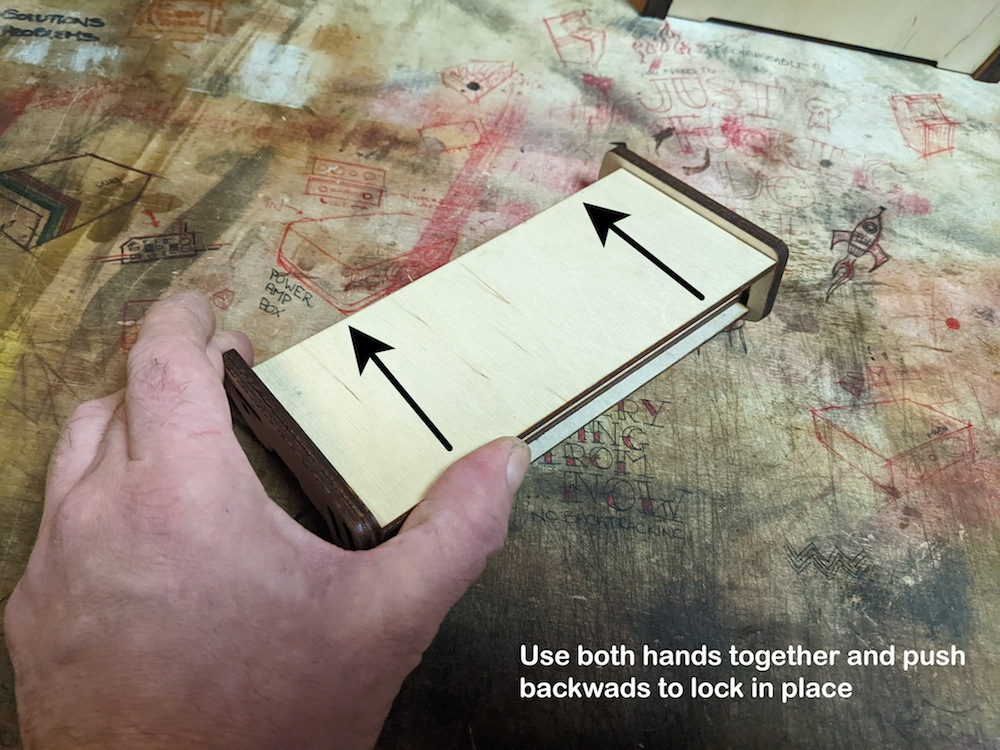
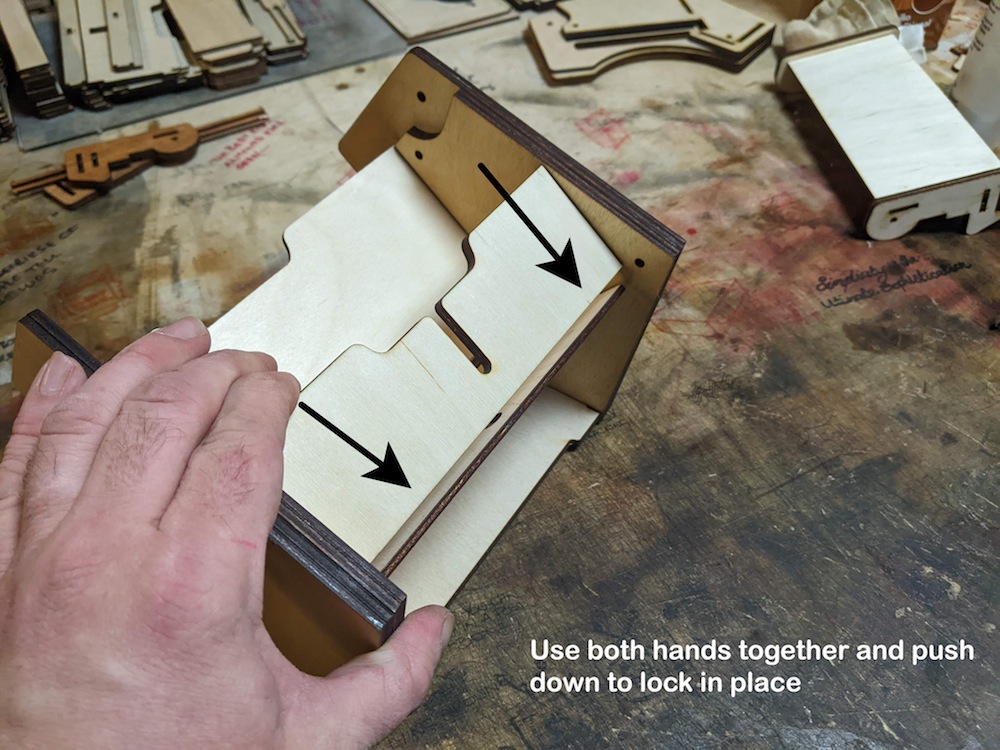
- If all the panels are lined up properly … firmly push the side panel down and into place as far as you can and then give it a bit of a Tap with your fist to get the clip to snap into place.
- (INSERT PICS)
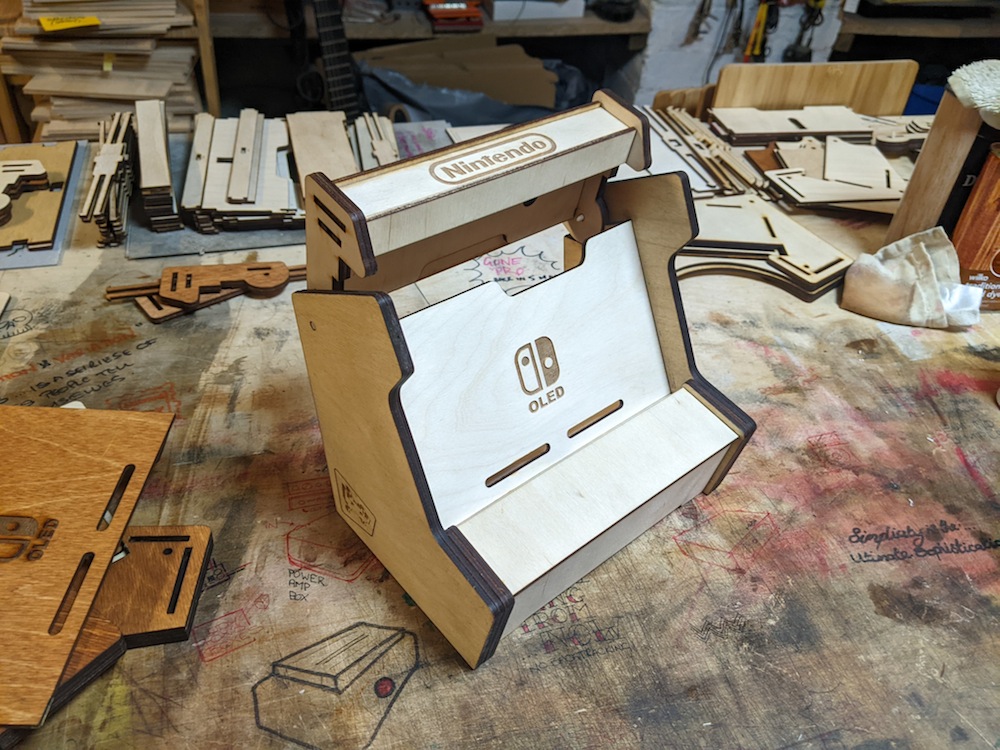
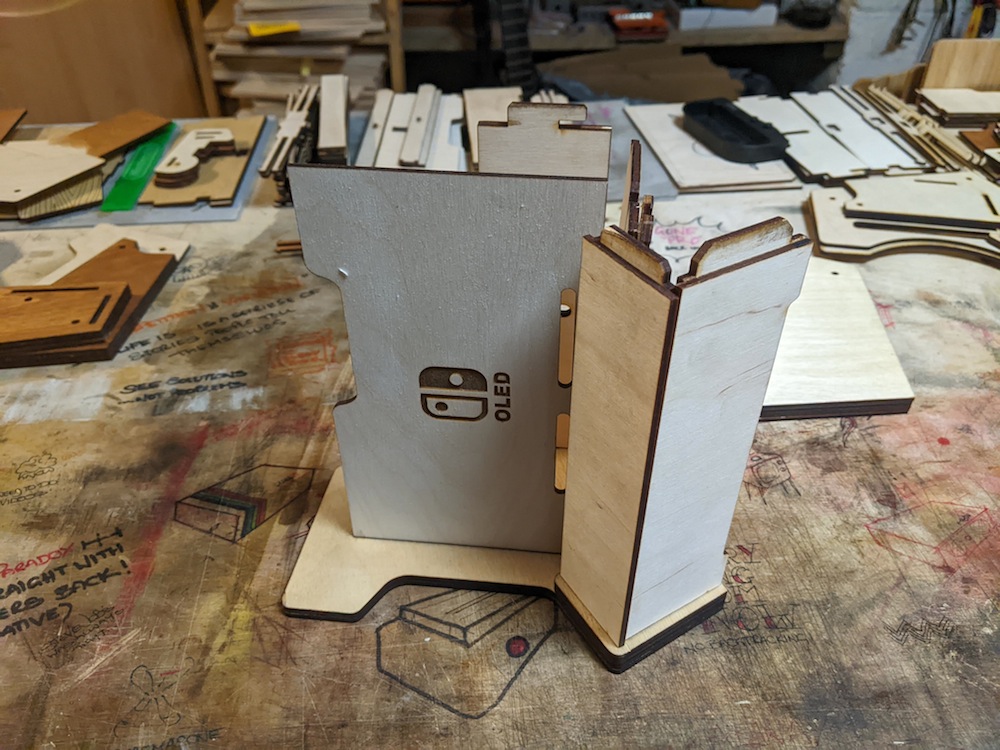
When you have got both parts built and are happy that everything is solidly put together. Join the Hood to the Cab using the wooden dowels.